Login to Blackboard
|
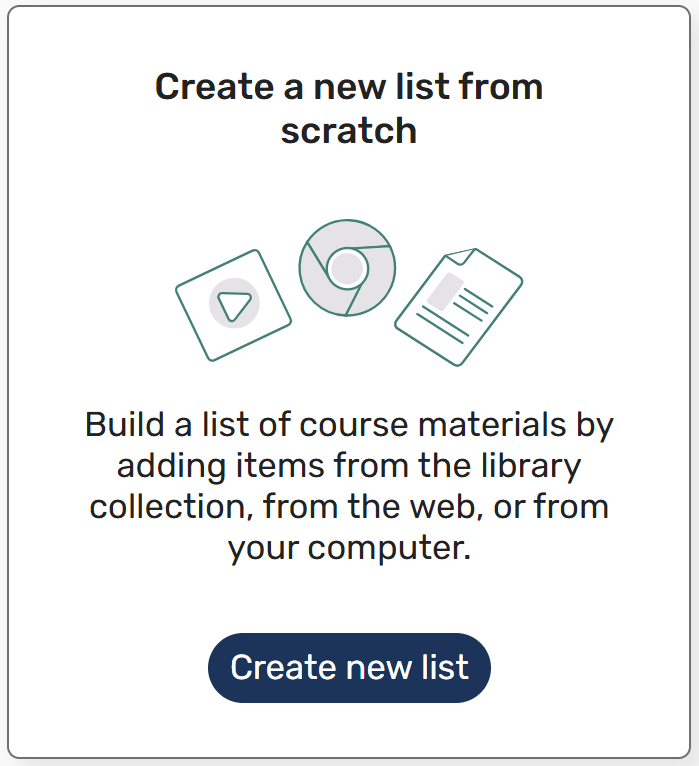
Create list
|
Check your title and link to your course
|
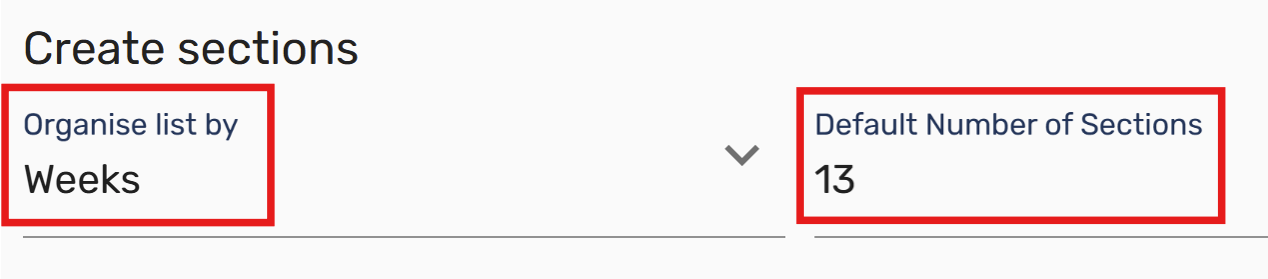
Select a template
|
Add, edit or remove sectionsDepending on the template you selected, you may want to add additional sections.
To rename a section, or give it a description:
To reorder sections:
|
Add resourcesProceed to the add resources to a reading list section of this guide for next steps. |
Login to Blackboard
|
Create list

|
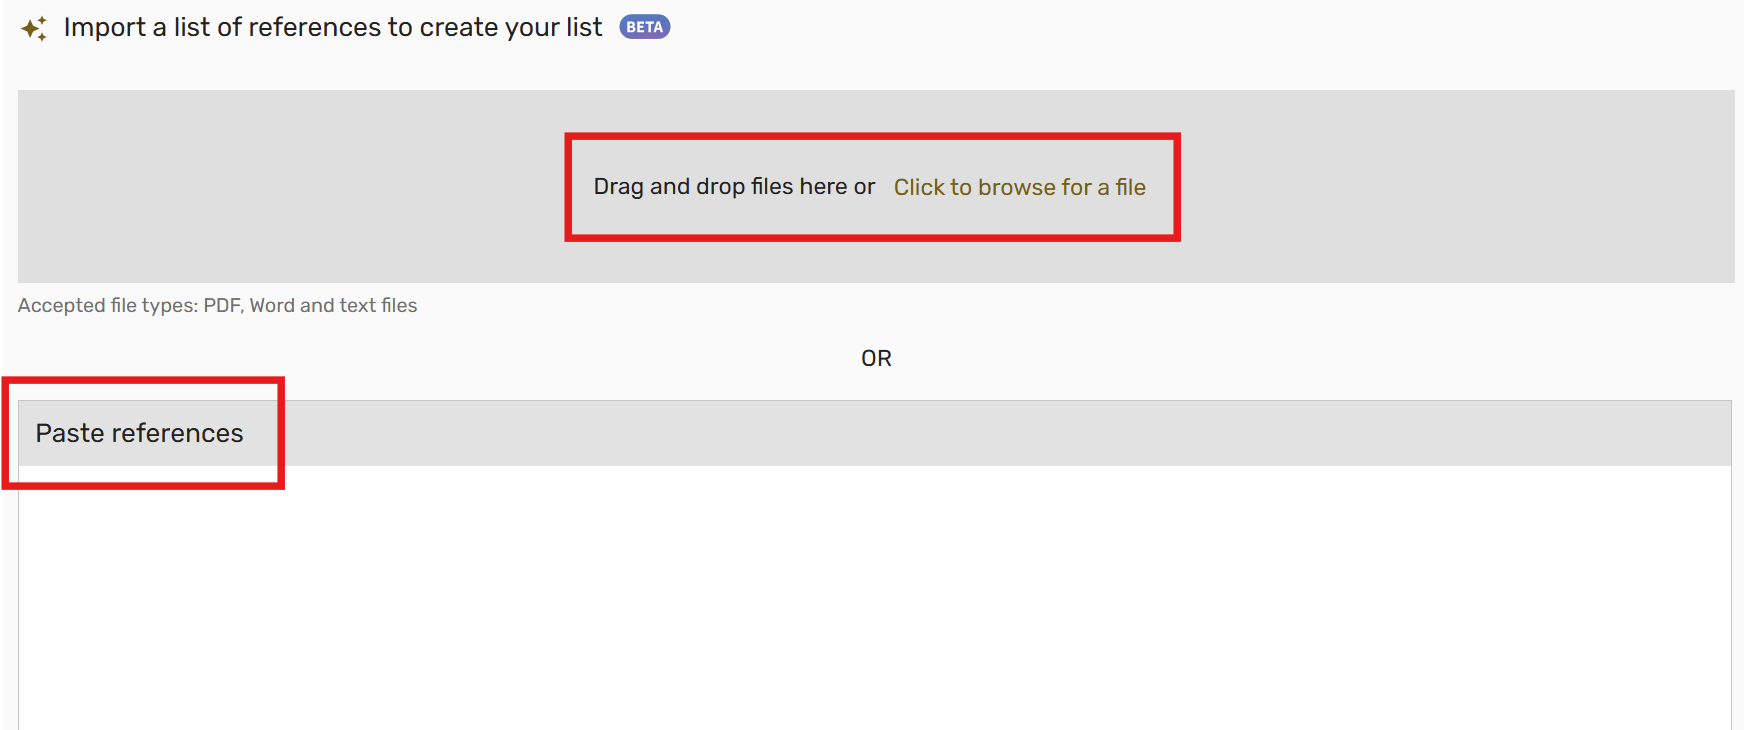
Upload your document
|
Check your title and link to your course
|
Check citations and sectionsLeganto will use the details provided in your document to match against the library's collection, or it will create a new citation with a link to access external resources. Any resources that have not generated a link or catalogue details (e.g. a Book or journal article) will be investigated by the library once you publish your list. If there are any resources missing from your list, you may need to add it again using one of the options available:
|
Check section headingsSections will also be added based on any headings in your document. To rename a section, or give it a description:
|
Publish your listOnce your list is complete, go to the Publish list tab to finalise the process. |
Copyright © 2025 The University of Notre Dame Australia | CRICOS Provider Code: 01032F | TEQSA PRV12170 | RTO Code 0064